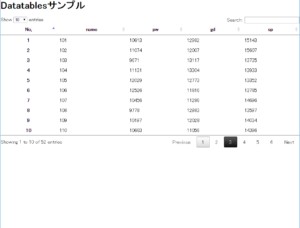
表データを掲載する際にはやはりテーブル要素を使うのが一番適していますね。
昔からソートが出来るテーブル表はありましたがjavascriptで動作させる必要がありました。しかし今はjQueryのプラグインを使うことで簡単に導入する事ができます。
それが「DataTables」です。

jQueryプラグインDataTables
HTML テーブルをデータグリッド出来るようにするjQuery のプラグイン。
ソート機能や検索機能を加える
公式URL:http://datatables.net/index
基本導入例
ここでは基本的な動作のみの導入手順を記載していく。
必要なファイルを読み込ませる
まずはstylesheetとscriptを読み込ませよう。
<head>
 …
<!--stylesheet-->
<link rel="stylesheet" type="text/css" href="https://cdn.datatables.net/v/dt/dt-1.10.12/datatables.min.css"/>
<!--jQuery-->
<script src="https://code.jquery.com/jquery-2.1.4.min.js"></script>
<!--Datatables-->
<script type="text/javascript" src="https://cdn.datatables.net/v/dt/dt-1.10.12/datatables.min.js"></script>
 …
</head>
テーブルデータを作成
テーブルデータを作成。idは「sample_tabledata」とする
<table id="sample_tabledata">
 <thead>
  <tr>
   <th>No.</th>
   <th>name</th>
   <th>pw</th>
   <th>gd</th>
   <th>sp</th>
  </tr>
 </thead>
 <tbody>
  <tr>
   <th>1</th>
   <td>101</td>
   <td>10613</td>
   <td>12982</td>
   <td>15143</td>
  </tr>
  <tr>
   <th>2</th>
   <td>102</td>
   <td>11074</td>
   <td>12007</td>
   <td>15607</td>
  </tr>
 </tbody>
</table>
手順3
ヘッドタグの下(datatables.min.jsより下)にDataTablesを動かす記述を加える。
<head>
 …
 <script>
 $(function(){
   $("#sample_tabledata").dataTable();
 })
 </script>
</head>
以上。これで基本的な動作は問題無い。導入サンプルは非常にシンプルに上の手順で導入したものなので、上手く行かない場合には良く見比べてみよう。
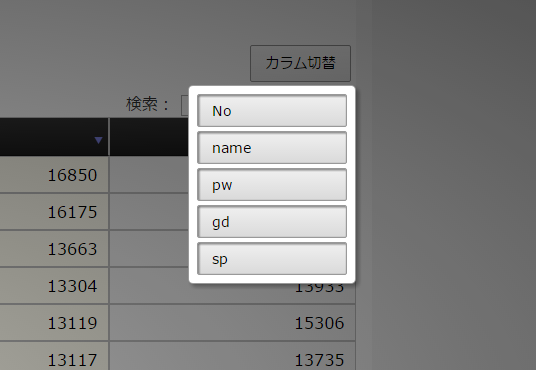
次回以降はオプションの紹介やcolvisを使った列表示の制御方法をまとめる予定


